So, after using various methods for a few years, I am currently (for the last 9 months or so) using a BrewPi to manage and control my fermentation temperatures.
BrewPi is a fermentation temperature controller for brewing beer or wine. It runs on a Raspberry Pi and an Arduino board. Compared to other method of temperature control (heat belt, fish-tank heater, STC1000), a BrewPi can offer better temperature control and a lot more features like data logging, a web interface and graphs.
It won’t do magic, if your other processes are flawed (bad sanitation, low quality of ingredients, poor recipe), then your beer won’t be improved by using a BrewPi (or any other temperature controller). It doesn’t make better beer than the other methods, it just adds a layer of consistency to your fermentation.
How does it work? What do i need?
It uses two small and relatively cheap electronic boards, an Arduino and a Raspberry Pi to switch on/off your heater & cooling system.
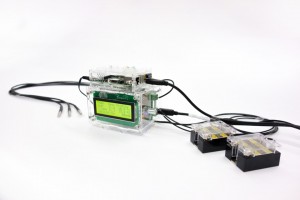
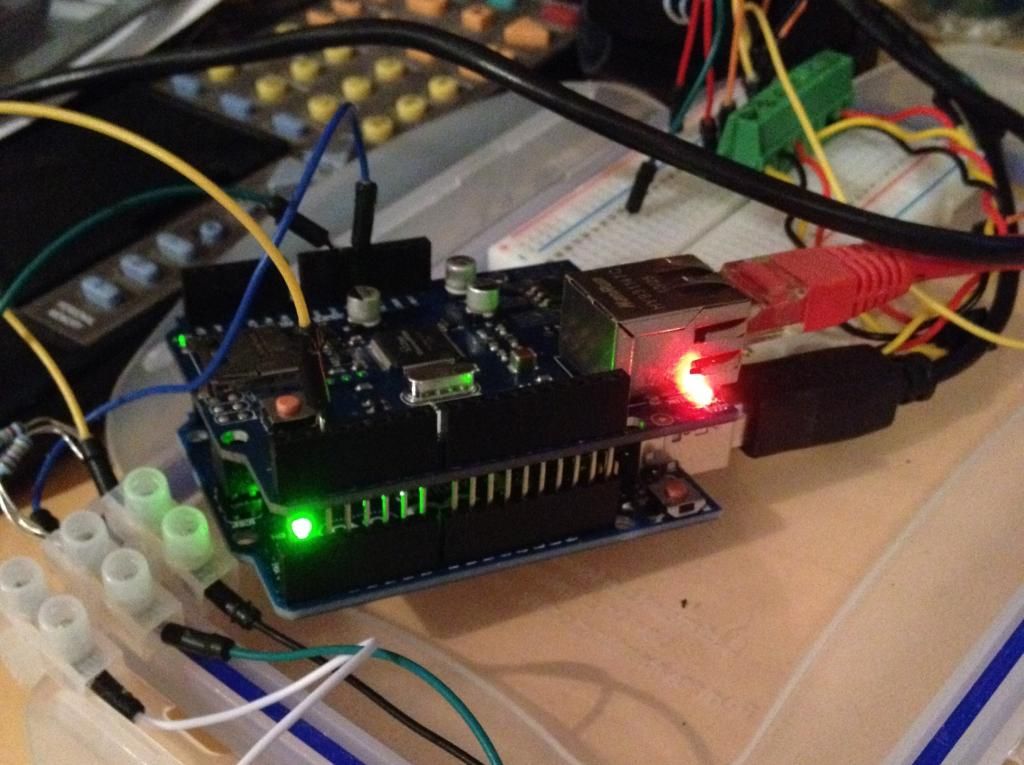
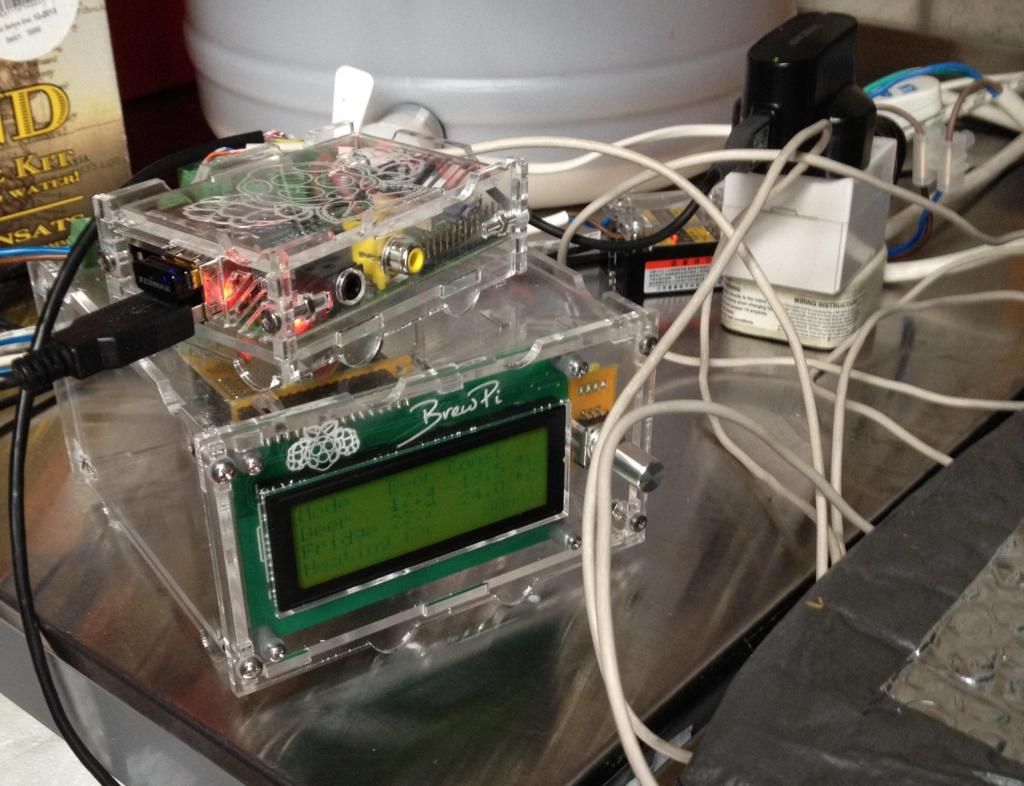
Arduino with shield
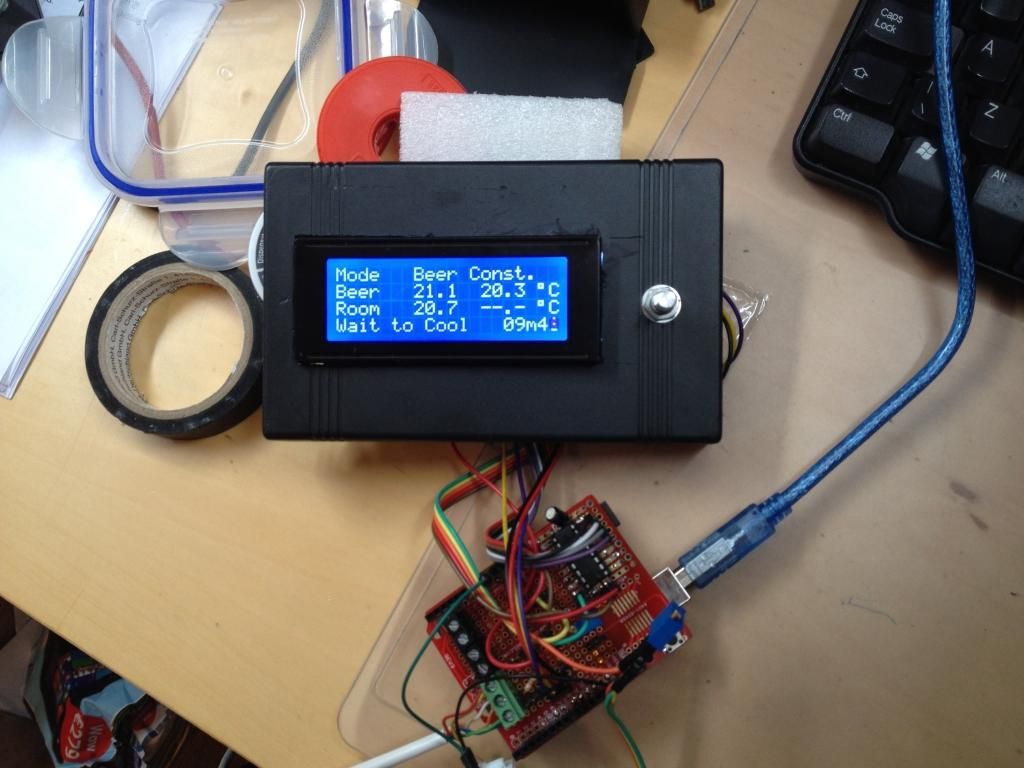
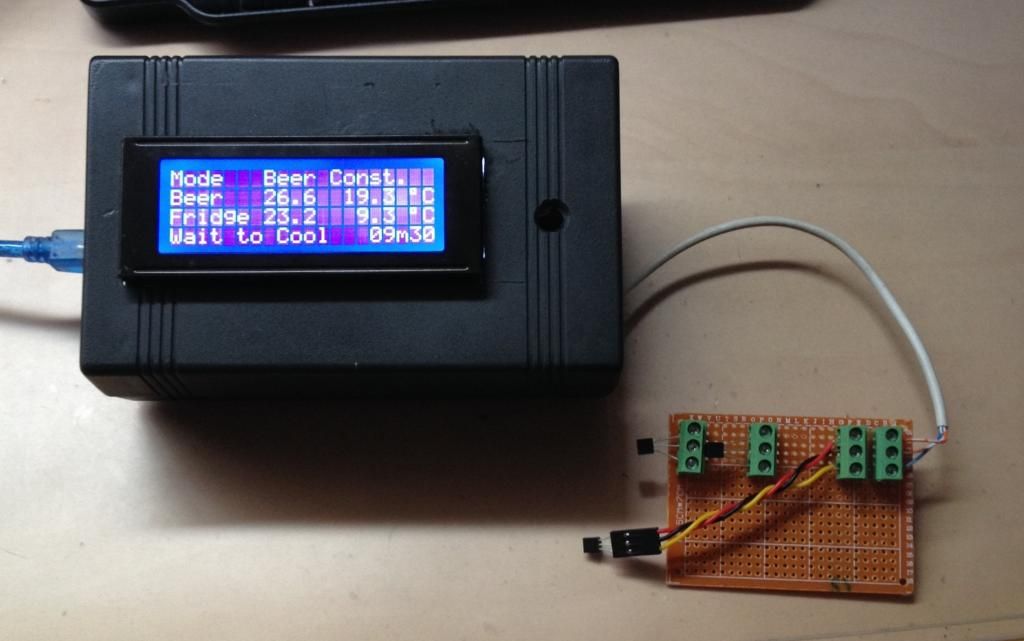
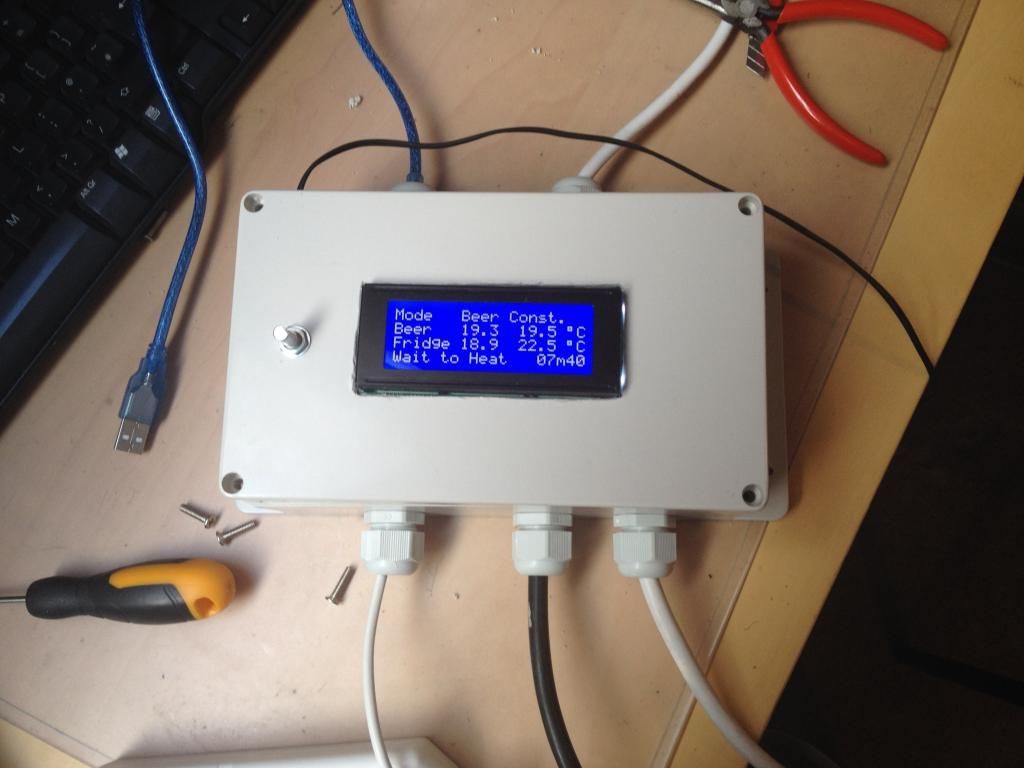
The Arduino is the actual PID (proportional-integral-derivative) controller, it runs a script/program which manages the temperature control, typically keeping either your beer or your fridge at a constant temperature. It uses a PID monitoring system to estimate where the heating / cooling needs to be, while keeping the beer at its set temperature. It runs a display & selector button (rotary encoder) to show you current temp of the beer & the fridge, and the temps they should be at.
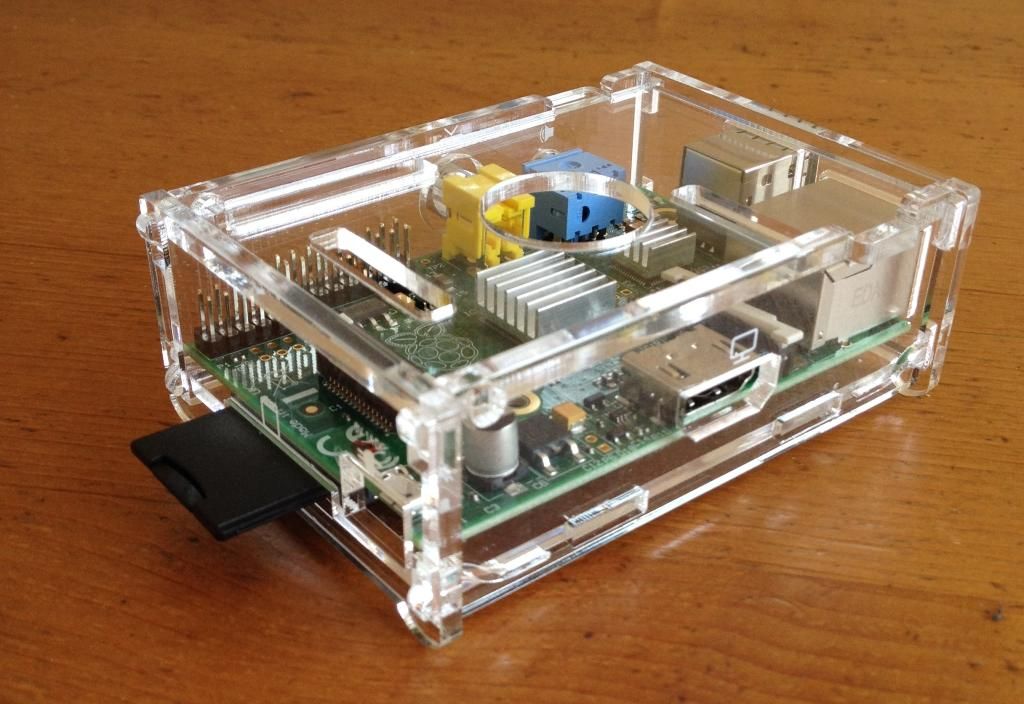
Raspberry Pi Model B
The Raspberry Pi adds a web interface, data logging & control,which allows you to get fancy with multi-temp fermentation profiles, e.g. Lager – first 12 days at 12°C, rise to 16°C for 3 days, slowly drop to 2°C over 10 days, keep at 2°C for 4 weeks (quite specialised, too much for most).
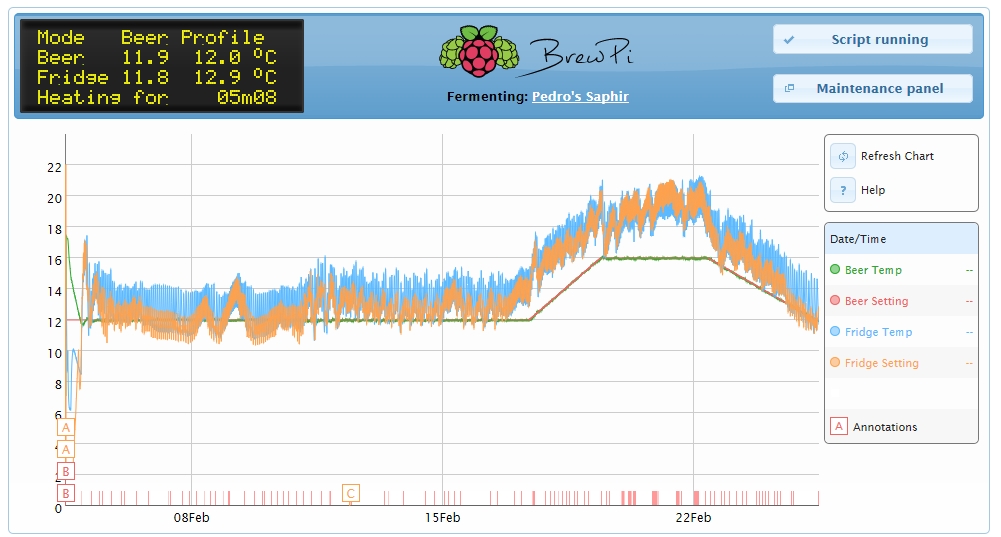
Beer Profile Mode
The way it operates is by measuring the temperature from within the beer and comparing it to the temperature of the fermentation chamber/fridge. It then either heats, cools or idles depending on what is required to change the temperature of the wort. When the beer is fermenting, the reaction as the yeast converts the sugars to alcohol & CO2 is exothermic, i.e. creates/gives out heat.
The Raspberry Pi also connects to your network to allow remote access & monitoring (worldwide, if you set up port forwarding on your router).
BrewPi graph
There are a few option in how you set it up:
(1) Full control: Both physical & remote access: buy all the bits from BrewPi.com (~€200), works well, looks great but quite expensive.
(2) Remote access only (~€75): Use a RaspberryPi (~€40) & Arduino (€10-€15) without display or rotary encoder, set it up to use the web interface only to control settings (i.e. PC, laptop, iPhone, etc) – cheaper but need to link it to your home network (Wifi or LAN required).
BrewPi Headless ShieldOne Wire Temperature Probe Shield
(3) Physical access only (~€50, all in one box): Use the Arduino only with a LCD & rotary controller, this only allows fixed temp setting (either beer or fridge), restricted by not having a programming mode, but most simple and likely the option needed by 90% of users. You need to borrow a Raspberry Pi to program it. Once the Arduino is initially programmed, you can unplug it from the Raspberry Pi and let it run on it’s own, e.g. set it at 18°C – Beer Constant mode.
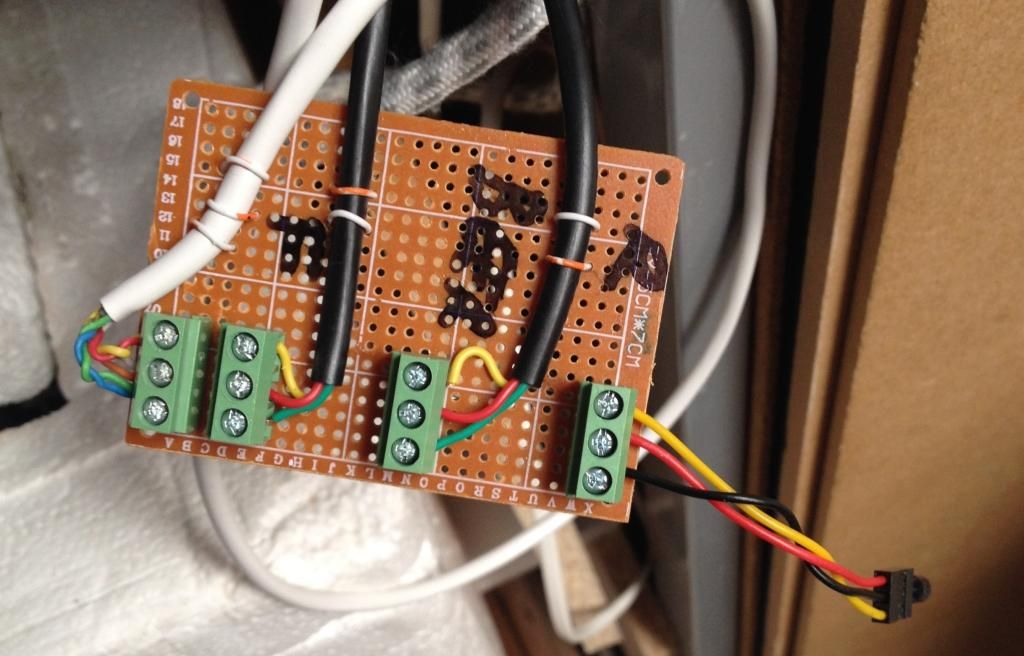
You will still need 2 x relays/SSRs & 2-3 DS18b20 Temp probes plus heating tube & ferment fridge/chamber for whichever of these options you choose.
At approx €50, it’s really not much more than a STC-1000, but would give you a better / more consistent temp control of beer.
Where the BrewPi stands above the STC-100 and similar one temperature probe models is that it is actually measuring the temperature from within the middle of the beer. To measure the temperature a thermowell is used, however they can be expensive, a Carboy Stopper Thermowell is $24 from the States (or for a cheaper alternative, AliExpress for €6), or what i have used, a crimp welded piece of S/steel in an airlock bung).
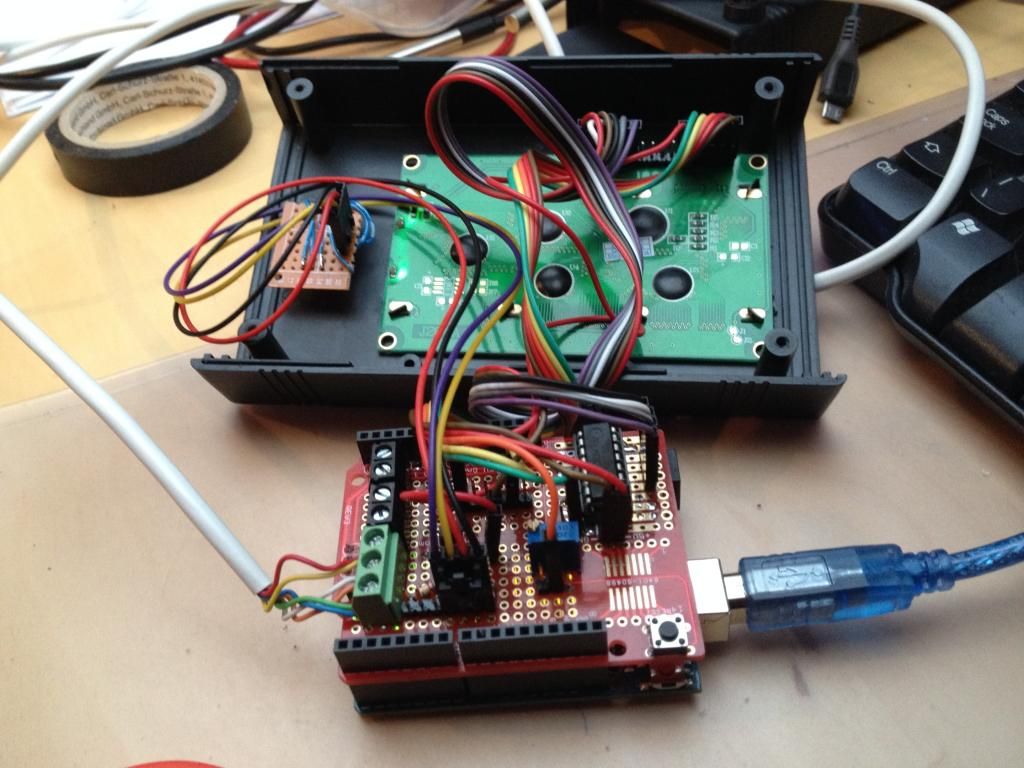
Setup is relatively simple, there is a bit of home assembly required for the components. Once you have some confidence & patience on your PC, you should be able to get this up and running within a couple of hours. All assembly and setup instructions are accessed through the BrewPi and are easy to follow.
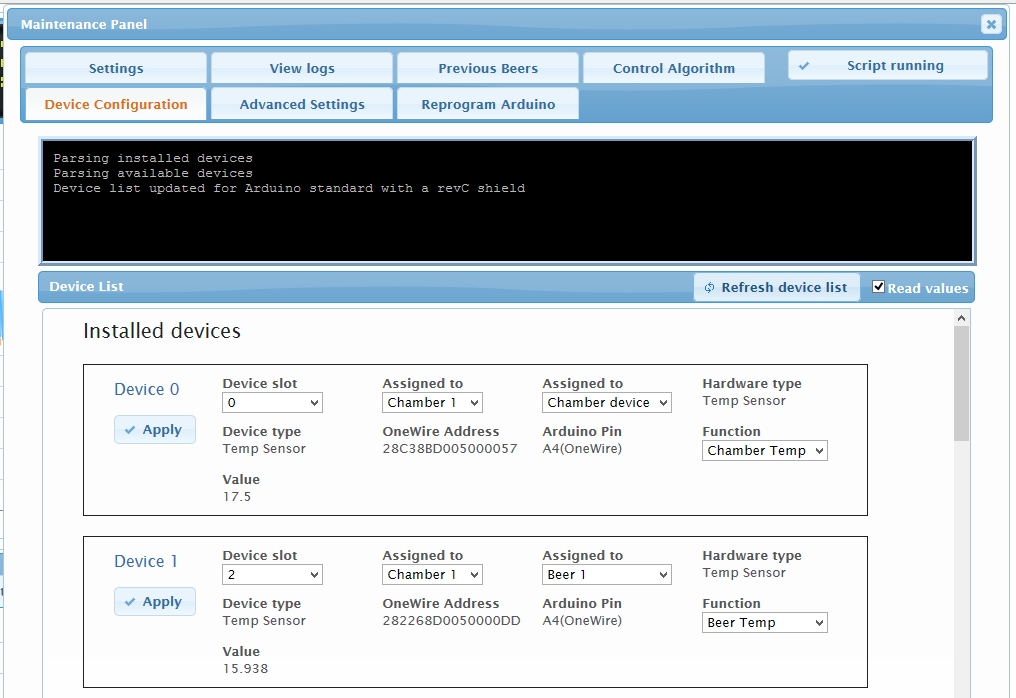
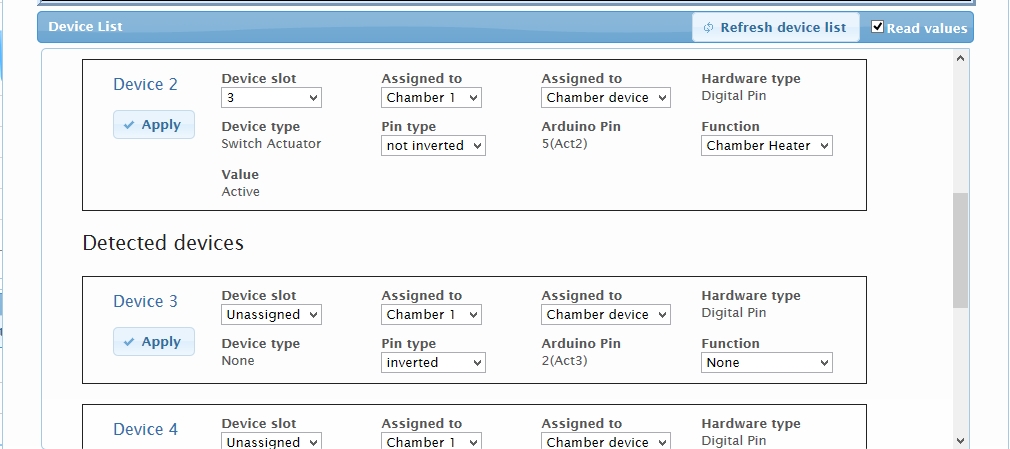
Once correctly wired up, the sensors & activators (relay/SSRs) are recognised by the BrewPi. You then assign labels to each, e.g. beer temperature, chamber temperature, heating relay/SSR.
Device Setup Screen
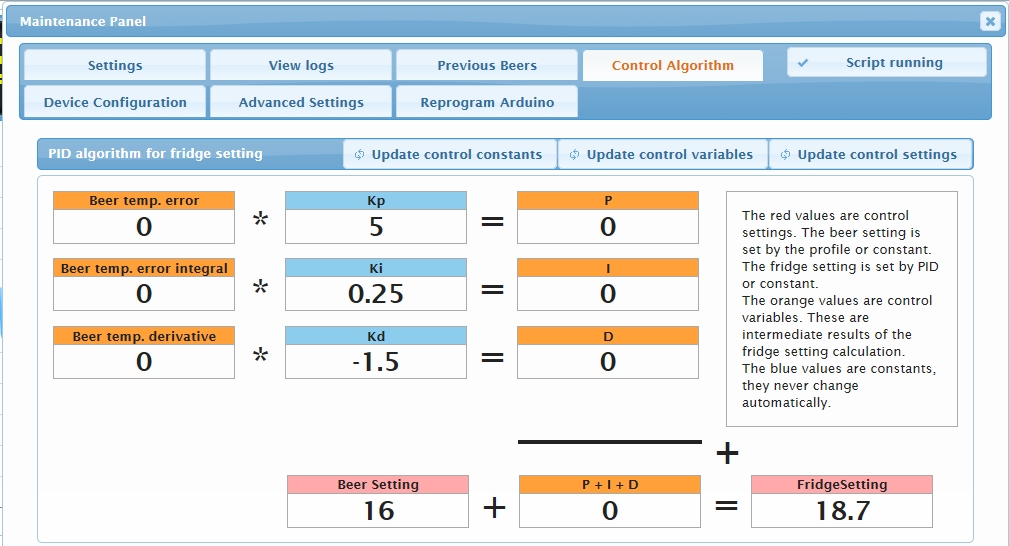
The BrewPi then talks to the Arduino (essentially programming it) and updates it with the relevent control factors (magic PID bits). From that point on (unless changed by you or by the RaspberryPi while running a beer (lager) profile), the Arduino chugs away and maintains the temperature of the beer forever.
PID Algorithm Screen
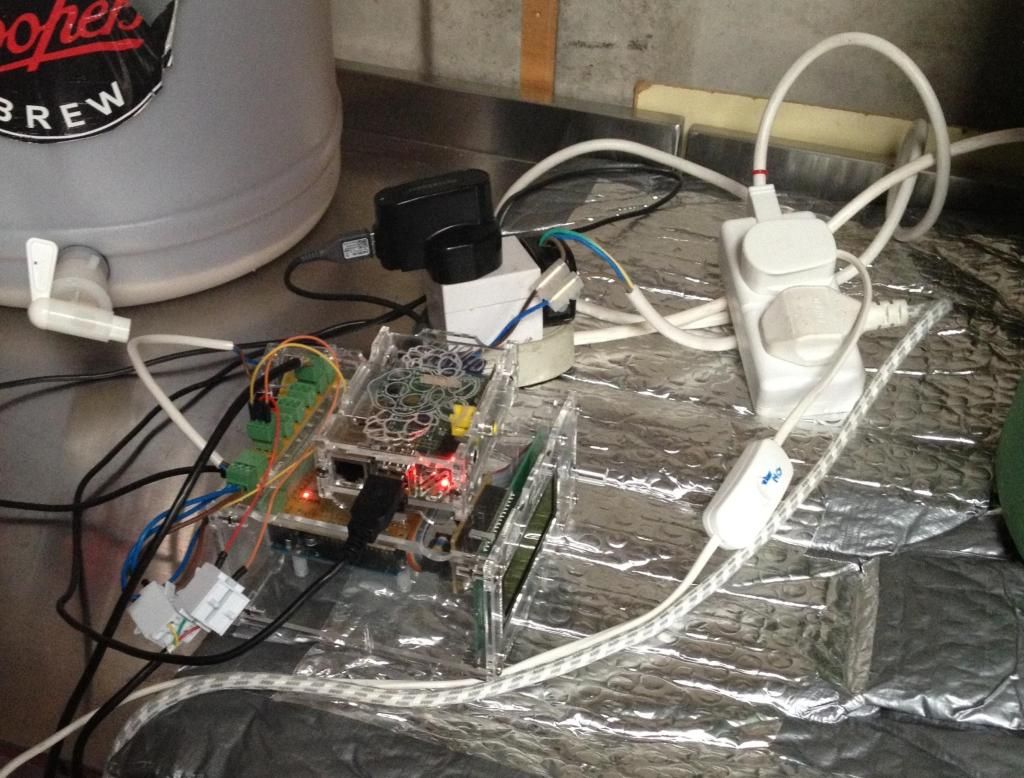
I have gone for the headless (2) Remote access only option, this is a simple setup with a single SSR for heating & 2 DS18b20 Temp probes (beer & chamber temperature) wired into the Arduino (using a small project shield for the Arduino). Once I get a fridge, I’ll add a 2nd SSR to switch the cooling end of the control.
A 3rd Temperature probe can be added for Room Temperature, it is really only for logging, e.g. to see why the heating or cooling was on longer than anticipated in a particularly warm/cold temperature time. In use, I can spot where this would be the case with my current set up, i.e. between 4-6am, the heating cycle can sometimes be on longer compared to the rest of the day, because it gets very cold at night in the shed.
There are other options for control of the door light within the fridge/chamber and fan control, I do not use these for simplicity sake.
Generally, I will ferment Ales at a constant temperature, e.g. 19°C and use a variable beer profile for a Lager (or Saison, etc). The BrewPi logs all the details and allows you to view & zoom into various parts of the graphs to look at the logged data. Using the BrewPi, it will maintain my ferment chamber temperature to within 0.1°C of the target set, this adds a layer of consistency to my brewing process which I can rely on in the future.
Pros:
Great results, adds consistency to fermentation
Reasonable price
Easy to use
Stores previous brewing information
Cons:
Need to be able to solder to build shield
Bit of PC knowlege required for setup
Safety Note: Working with electricity is very dangerous, especially when mixed with liquids. Make sure you know what you are doing before you start, ask for help & advice before you touch anything.
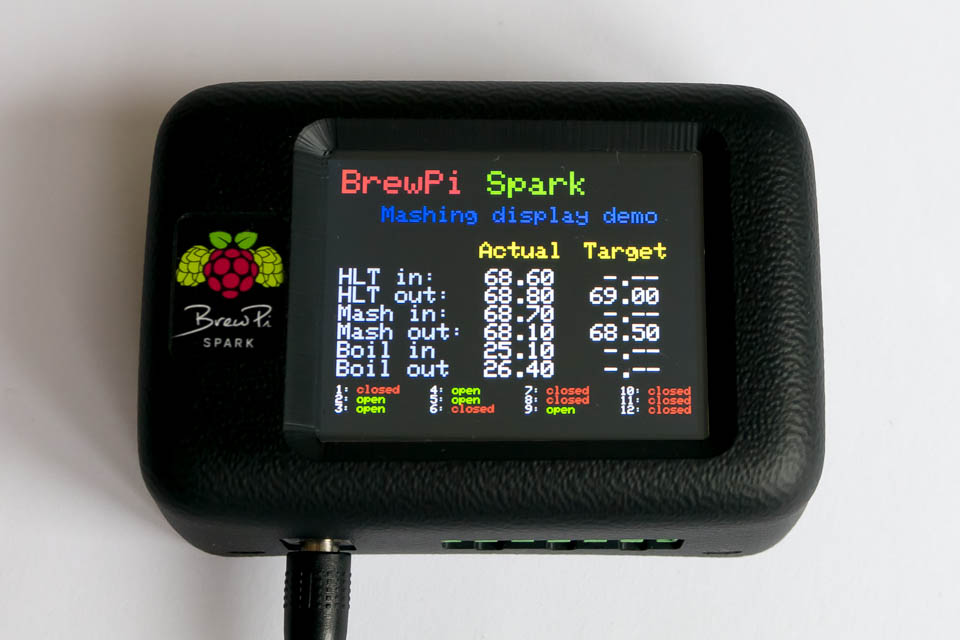
* This review is for the original, Raspberrry Pi based version, there is a newer version of the BrewPi being developed, the BrewPi Spark and is due for sale presently. It uses the Spark Core, with built in WiFi and will have HERMS mash control (with automated valve controllers), which is being currently being developed. Priced about €125, its next on the list. You still will need the relay/SSRs, heating tube, cooler (fridge) for either version.
Credits: Big thanks to Ciderhead for the loan & use of the original BrewPi & other bits.
This website uses cookies so that we can provide you with the best user experience possible. Cookie information is stored in your browser and performs functions such as recognising you when you return to our website and helping our team to understand which sections of the website you find most interesting and useful.
You can adjust all of your cookie settings by navigating the tabs on the left hand side.
Strictly Necessary Cookies
Strictly Necessary Cookie should be enabled at all times so that we can save your preferences for cookie settings.
If you disable this cookie, we will not be able to save your preferences. This means that every time you visit this website you will need to enable or disable cookies again.
By continuing to use the site, you agree to the use of cookies. more information
The cookie settings on this website are set to "allow cookies" to give you the best browsing experience possible. If you continue to use this website without changing your cookie settings or you click "Accept" below then you are consenting to this.